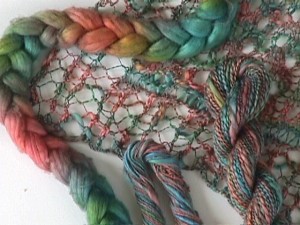
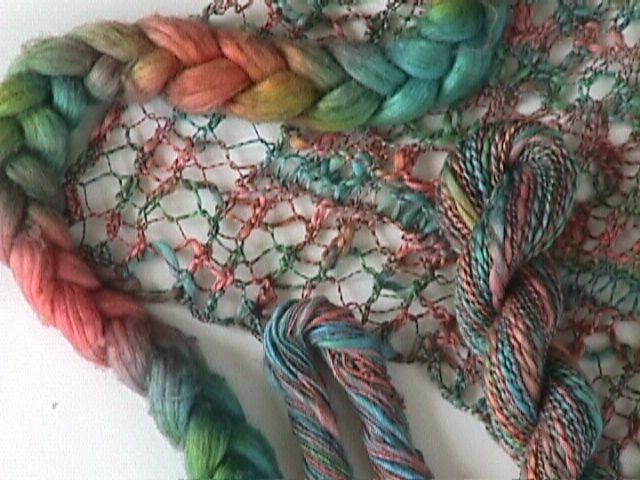
I have some photos to share from a “cotton study” project I did quite some time ago. It was always my intent to do a write-up with the pictures, but you know how intentions can sometimes go by the wayside. Here I am many years later looking through my photo albums and was reminded again of that short article that I still wanted to write. Well, here it is finally!
Unfortunately I don’t have any photos of the step-by-step process I used. I will just have to talk it through. For those familiar with dyeing and spinning, you should be able to follow along well enough and surmise. For those unfamiliar with these, maybe you can just enjoy the pretty colors and inspiration.

The above photo shows
- the braided un-spun roving after dyeing
- the singles yarn
- the singles plied with fine rayon sewing thread to make the 2-ply knitting yarn
- and the result of using the 2-ply yarn to knit the HeartStrings Reversible Lace Cables scarf pattern
Dyeing the cotton: I started with un-dyed white cotton roving. I broke off lengths of roving about a yard long each and braided them. Then 3 colors of fiber reactive dyes were applied to the braid. After the dye was set and rinsed, I let the braids dry completely.
Spinning the singles: I undid each braid (sorry I can’t remember how many I had, but the total weight was 1.75 oz / 50g) and spun each length of dyed roving separately into an S-twist singles. I used long draw from the “wrong end” of the roving on my Lendrum spinning wheels highest speed whorl. For you spinners, you know that cotton roving will draw out more smoothly in one direction than the other. I intentionally used the other direction to produce a lump, bumpy textured singles strand of spun yarn. (this is harder to do than you’d think after you’ve spun for a while!) I wanted a yarn that when knitted into the lace, would produce a casual, somewhat rustic look.
Plying: I plied the spun singles Z-twist with fine rayon sewing thread to make a 2-ply knitting yarn.
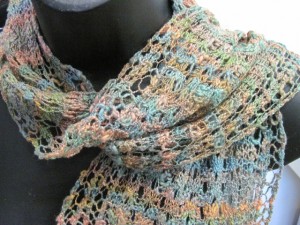
Here is a photo of the knitted scarf that I took recently with a different camera in different lighting (the original picture above was taken in the 90’s! — my, how digital cameras have advanced, haven’t they?)

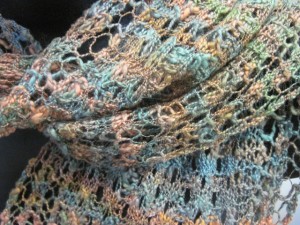
Here’s a bit more of a close-up so that you can see the texture of the yarn in the stitches.

p.s. Do you recognize this scarf as having been knit from the same pattern in last week’s blog article Spinning a 2-ply laceweight yarn for a scarf?


I posted about braiding yesterday, too! Different materials, different techniques, different results, but quite a coincidence nonetheless. You can see mine here: http://www.secondwindjewelry.com/jewelry-weaving-blog/2011/1/creative-results
Beautiful! I posted on braided scarves today, too – what are the odds of that? You can see mine here: http://secondwindjewelry.com/jewelry-weaving-blog/2011/01/creative-results/ Quite different purposes and finished results.
There just seems to be no end of creative talent in this group! This is so amazing!!