Counteracting a throw-away society
Considering the time and expense of making hand-knit socks, it is well worth the effort to repair them if you eventually wear through a hole. You say you don’t know how to darn a sock? Let me help with these photos and brief explanation of steps for the method I use to to repair a sock with a knit-in-place patch.
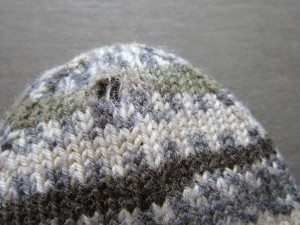
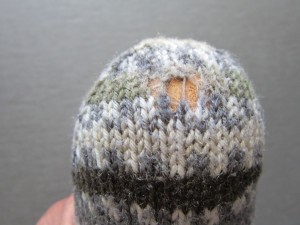
Although I usually get years of wear from my hand-knit socks, I am especially hard on the toes of socks because I have such a difficult time keeping my toenails short enough. But eventually, the inevitable happens (the pair of socks I photographed below to show are over 10 years old) and the yarn will wear thin and develop a hole.
I could remove the toe area totally, and re-knit it. But I am going to show you how to darn this sock with a knit-in-place patch. This method is handy to know, because it also works well for repairing socks with wear areas in other places like the ball of the foot and heel.
Note: In the photos below, the socks from the pair I am repairing are slightly different (this is one of those self-patterning yarns that was popular in the early 90’s). I wanted to get the best photo for each major step in the process, and so sometimes the photo was of one of the socks, and sometimes the other.
Making a knit-in-place patch
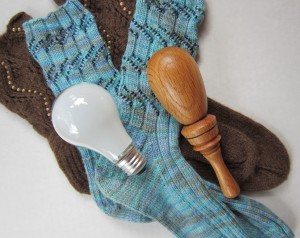
1. Place a darning egg in the sock.
Don’t have a fancy sock darning egg? An old-fashioned incandescent light bulb works, too. (The light bulb doesn’t even have to work any longer, so think of this as another way of using something that you might otherwise throw away, lol.)
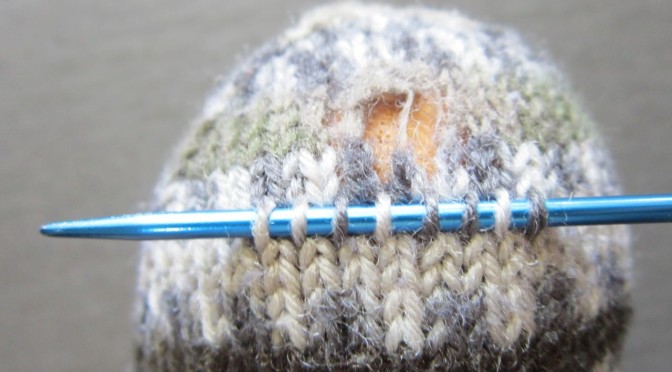
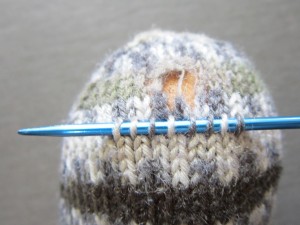
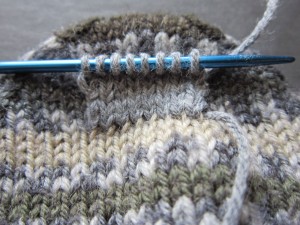
2. Onto a short double-point knitting needle in same size as used to knit the sock, pick up the loops of stitches in an undamaged row below the hole.
Remove the darning egg temporarily.
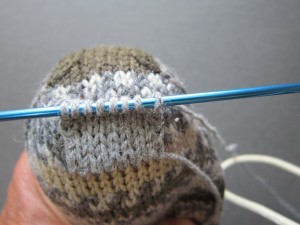
3. Using yarn in a similar weight as the sock, knit across the row of stitches on the needle, then purl back across the row. If you happen to have some of the original yarn leftover from making the sock, all the better. But if you are like me, you won’t be able to find it after 10 years or so, lol. A yarn in a coordinating color, or even a bright contrasting color, is fine to use. The patch is likely not going to be seen when worn anyway, and if it is, a bright-colored patch could be quite fun. The important thing is that you want the yarn used for the repair patch to be a comparable weight (and of course sturdy enough so that it holds up to wear for another 10 years or so again <g>).
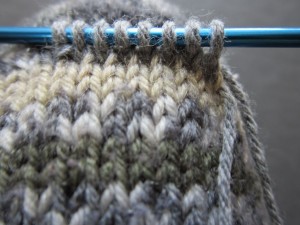
4. Now you want to continue to knit back and forth to make a square or rectangular patch to cover the hole. At the same time, attach the patch to the original sock at the beginning and end of each knit row as follows:
k2tog the first stitch of the row with a stitch loop of the original sock 2 rows above, k until one st remains in row, ssk the last stitch of the row with a stitch loop of the original sock 2 rows above.
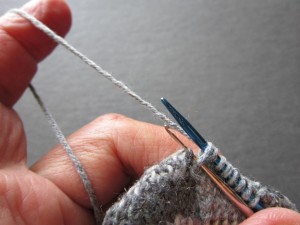
Tip: If you have difficulty picking up the stitch loop of the original sock to incorporate into the k2tog/ssk attachment at either end, you can use a crochet hook to assist pulling the loop onto the knitting needle.
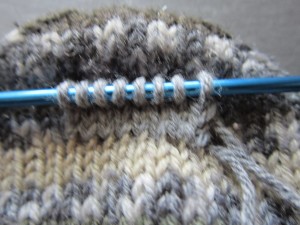
5. Continue knitting back and forth on the patch until it covers and hole entirely and you have completed a purl row. Cut yarn, leaving a long enough tail to graft the stitches of the patch to the original sock.
6. Insert darning egg into the sock again. This will give a good foundation for grafting the stitches and assure that you don’t catch any of the underside of the sock when sewing.
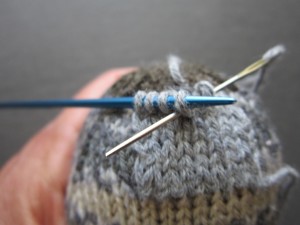
7. Thread a tapestry needle with the yarn tail and begin grafting the undamaged row of stitches above the hole to the live stitches on the knitting needle.
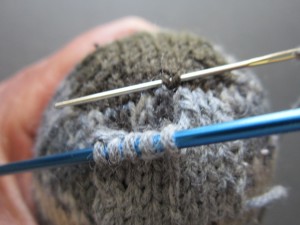 Continue grafting until all live stitches have been removed from the knitting needle and are now attached to the sock.
8. Remove darning egg. Bring yarn ends to inside of sock. Turn sock inside out. Insert darning egg into the sock again temporarily, and weave in yarn ends invisibly. (I always like to insert a darning egg for weaving in ends on toes of socks, so I don’t mistakenly catch the underside layer of the sock! — you probably don’t need to ask me why, lol)
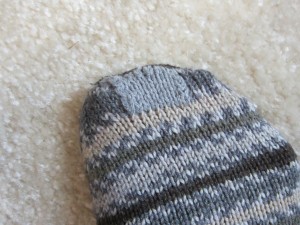
The repaired sock with the completed patch
I’ve already been wearing these socks for 4 months and they are holding up great. It makes me feel good about giving new life to an old friend (my socks, that is).

